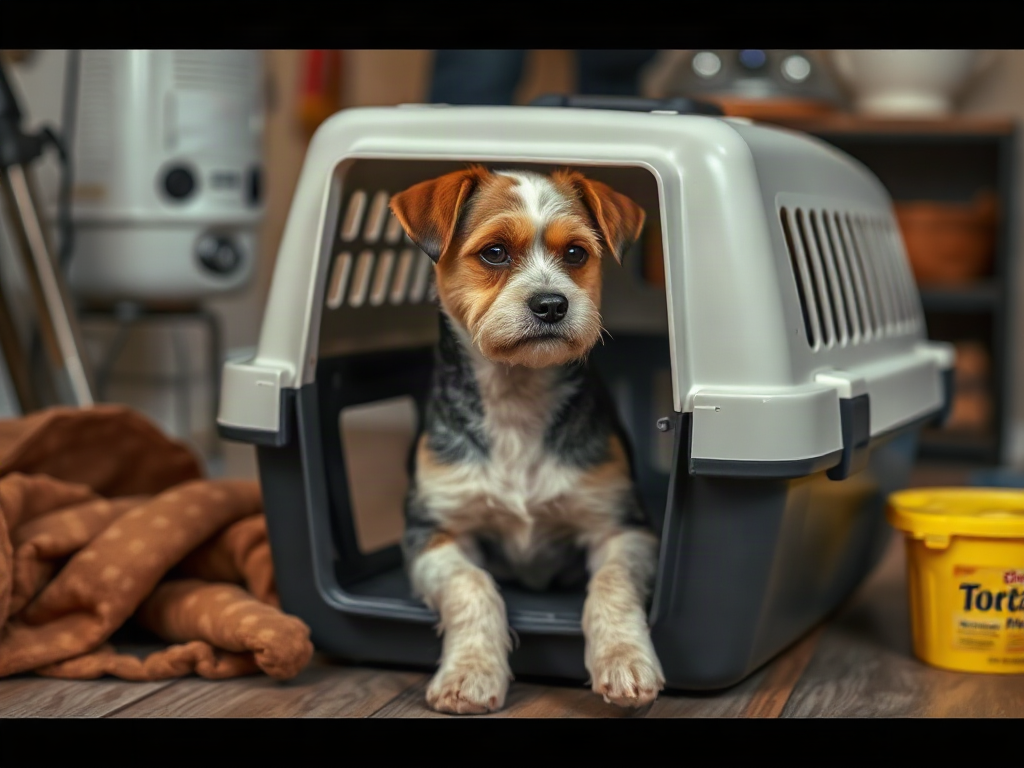
Cleaning dog carriers after accidents is safest when you remove solid waste, blot urine without spreading it, wash removable parts separately, clean the shell with a material-compatible solution, and dry every seam completely before reuse. Hard plastic usually tolerates mild dish soap and thorough rinsing, while fabric panels, foam inserts, and coated liners require closer attention to their care labels. An enzymatic cleaner can break down lingering urine residue, but it should be spot-tested and never mixed with bleach or other cleaners. Replace padding or a carrier when contamination remains trapped, odor returns after drying, or damaged surfaces can no longer be cleaned reliably.
Contain the Mess Before Deep Cleaning
Fast containment limits how far urine, feces, or vomit can migrate into seams and padding. Move the dog to a secure, calm location first, then put on disposable gloves and carry the carrier to a washable area. If the accident happened in a vehicle, place an old towel or waterproof sheet beneath the carrier before moving it. Tilting a soft-sided carrier can send liquid into untouched panels, zipper tracks, or the vehicle upholstery.
Remove solid material with paper towels or a disposable scraper rather than rubbing it into the surface. For liquid, press clean absorbent towels firmly against the wet area and replace them until little moisture transfers. Blotting lifts contamination; scrubbing at this stage spreads it through woven fabric and pushes it deeper into foam. Work from the edge of the wet area toward its center to keep the affected zone from expanding.
Disassemble only the parts the manufacturer intended users to remove. Take out washable bedding, rigid floorboards, fleece covers, and detachable bowls, keeping track of which pieces contain cardboard, fiberboard, or foam. A base that looks like plastic may be a fabric-wrapped insert with an absorbent core. Submerging it can cause swelling, distortion, or prolonged odor. Photograph the assembly before removing unfamiliar straps or support rods so everything can be returned to its correct position.
A practical first-pass sequence is:
- Secure the dog away from cleaning products and contaminated materials.
- Remove solids without pressing them into mesh, fabric, or joints.
- Blot liquids with disposable absorbent towels.
- Separate components according to their materials and care instructions.
- Bag waste and clean the surrounding floor or vehicle surface.
Do not begin by spraying fragrance over the entire carrier. Fragrance may briefly cover odor while leaving organic residue behind, and overspraying makes the clean boundary harder to identify. A common failure during Cleaning dog carriers after accidents is treating every component as washable. The better priority is containment followed by material identification; deep cleaning comes only after those two tasks are complete.
Use the Right Method for Each Carrier Material
Carrier construction determines how much water, agitation, and cleaning solution it can tolerate. Check the sewn-in care label and product instructions before machine washing or soaking anything. If instructions conflict with general cleaning advice, follow the manufacturer because coatings, adhesives, structural inserts, and flame-resistant treatments vary between products.
Hard Plastic and Metal Components
For an empty hard-plastic shell, wash accessible surfaces with warm water and a small amount of mild, unscented dish soap. Use a dedicated cloth or soft brush around molded corners, door channels, ventilation holes, and the lip where the top and bottom sections meet. Rinse away soap rather than leaving a film that a dog may lick later. Clean metal doors and fasteners, then dry them promptly, especially where bare or scratched metal could corrode.
A removable plastic tray can usually be treated similarly, but avoid very hot water on thin pieces that may warp. Abrasive pads are another poor tradeoff: they may remove a stubborn mark quickly while leaving fine scratches that trap future contamination. If a crate separates into two bolted halves, cleaning it assembled may leave residue inside the overlapping rim. Separate the halves only if the design permits easy, correct reassembly.
Soft Sides, Mesh, and Internal Supports
Soft-sided carriers need more selective cleaning. A machine-washable cover should be zipped closed or prepared exactly as its label directs, and rigid boards or rods must come out first. Hand-clean fixed fabric with a lightly dampened cloth and compatible detergent rather than saturating the entire structure. Mesh can stretch or tear under aggressive brushing, so support it from behind and use gentle pressure.
Foam presents the hardest judgment. Surface contamination may respond to careful spot cleaning, but urine that has soaked through thick foam can remain beyond the reach of a surface treatment. Repeated soaking can leave the insert misshapen and damp internally. If odor returns once the foam is fully dry, replacement is often more reliable than another round of wet cleaning. Cardboard or fiberboard inserts that become wet generally cannot be restored to their original rigidity or cleaned through their full depth.
Never assume that bleach is appropriate simply because the carrier is light colored. It can discolor fabric, affect metal, damage some coatings, and create hazardous fumes if combined with ammonia-containing residue or another cleaner. Use one cleaning product at a time, provide ventilation, and keep the dog away until rinsed surfaces are dry. The material-safe approach takes longer than indiscriminate soaking, but it preserves closures, shape, ventilation panels, and load-bearing seams.
Remove Urine Odor Without Damaging the Carrier
Persistent urine odor usually means residue remains in an absorbent layer, seam, or crevice rather than a need for stronger perfume. Ordinary detergent can remove surface soil, yet odor may reappear when humidity rises because deposits remain in the material. Pet-labeled enzymatic cleaners are designed to act on organic residue and can be useful after the initial waste removal, provided the product is suitable for the carrier surface.
Read the cleaner label for dilution, contact time, ventilation, rinsing, and material restrictions. Spot-test it on a hidden patch of colored fabric or coated material and allow that patch to dry before treating a larger area. A wet spot can look colorfast and then show fading, stiffness, or a visible ring after evaporation. Apply enough product to reach the same depth as the accident without flooding unaffected structural components. A urine-soaked cushion may need treatment through its thickness; a lightly affected outer panel does not.
Give the product its labeled contact time rather than wiping it away immediately. Enzymatic formulations should not be mixed with bleach, disinfectants, vinegar, detergent, or another odor remover unless the manufacturer expressly permits that combination. Mixing products can reduce their effectiveness, damage materials, or create unsafe vapors. Finish the chosen process, rinse when directed, and let the surface dry before deciding whether another treatment is needed.
Feces or vomit can require a different emphasis. Remove all physical residue first, wash the compatible surface, and pay particular attention to textured plastic, stitching, zipper tape, and the underside of floor liners. A stain that remains after cleaning is not automatically active contamination, while a fresh odor after complete drying suggests material was missed. Use clean white towels during a final blot check; continued color or soil transfer indicates that more rinsing or cleaning is needed.
A real-world problem occurs when a carrier cushion has a washable cover over nonwashable foam. Washing only the cover makes the carrier appear clean, but odor returns as moisture and warmth draw it from the insert. Cleaning the foam repeatedly may damage it without reaching the center. In that situation, replacing the insert with a correctly sized, washable pad is the more dependable choice. The same reasoning applies when Cleaning dog carriers after accidents reveals liquid inside inaccessible laminated layers.
More cleaner is not necessarily more effective. Excess liquid lengthens drying time and may carry contamination into adjacent seams. Signs that the process is working include no soil transfer, no odor after full drying, and fabric that retains its original feel and color. Warning signs include tackiness, fading, delamination, swelling, rust, or odor that returns after the carrier has spent several hours in a warm room.
Dry, Inspect, and Prepare the Carrier for Reuse
Complete drying is part of cleaning, not an optional final touch. Moisture trapped beneath a liner, inside foam, or along a zipper can produce musty odors and may encourage microbial growth. Open every flap and door, separate removable pieces, and place them in a well-ventilated area. A fan can improve airflow, but high dryer heat, a hair dryer, radiator contact, or intense heat inside a closed vehicle may warp plastic, shrink fabric, weaken adhesives, or deform padding.
Judge dryness by touch and location rather than elapsed time alone. Press a dry paper towel into seams and beneath padding, then check for moisture transfer. Feel both sides of thick inserts and inspect the underside of the base. Reassemble only when hidden areas are dry. Leaving a carrier partly disassembled overnight is usually a better tradeoff than trapping residual moisture to make it available sooner.
Inspection should cover more than odor. Confirm that zippers travel freely, door latches engage completely, mesh has no new holes, and structural inserts remain flat. Check straps where they join the body, because soaking and vigorous handling can expose loose stitching. On hard carriers, verify that bolts, clips, and door pins were returned to their correct positions. A clean carrier with a weakened closure is not ready for transport.
Retire or repair the carrier when cleaning exposes damage that affects containment or safe handling. Cracked plastic near a door mount, a corroded latch, torn mesh, separated seams, or a swollen floorboard should not be dismissed as cosmetic. Replacement is also reasonable when waste entered a sealed cavity that cannot be opened, a nonwashable absorbent layer remains odorous, or the manufacturer warns against further use after material damage. Cosmetic staining alone may not require disposal if the surface is clean, dry, intact, and odor-free.
Before the next trip, place a washable absorbent pad over the floor without blocking ventilation or interfering with the door. Bring spare liners, waste bags, paper towels, gloves, and a sealable bag for soiled bedding. Avoid loose pads that bunch under the dog or expose adhesive edges. Dogs prone to motion sickness, diarrhea, urinary urgency, or repeated travel accidents may need veterinary attention; cleaning the equipment addresses the aftermath but not the underlying cause.
Perform a final sniff check only after the carrier reaches room temperature and is fully dry. Warmth often makes residual odor easier to detect. If the smell returns, inspect the underside, stitched edges, foam, and joints before repeating treatment across the whole carrier. Targeted recleaning limits unnecessary chemical exposure and material wear. For future Cleaning dog carriers after accidents, keeping the care label and replacement-part information with the travel kit can prevent hurried, damaging choices.
Frequently Asked Questions
Can I Wash a Dog Carrier in a Washing Machine?
Only machine-wash parts specifically identified as machine washable. Remove rigid boards, rods, foam, and hardware as directed, and follow the label for cycle and drying settings.
Can I Use Bleach After a Carrier Accident?
Do not use bleach unless the carrier and bleach labels permit it. Never mix it with urine residue, ammonia, vinegar, enzymatic products, or other cleaners, and rinse compatible surfaces thoroughly.
Why Does Urine Odor Return After the Carrier Dries?
Odor commonly returns because urine reached foam, a seam, a floorboard, or another absorbent layer. Inspect hidden components and replace any nonwashable insert that cannot be cleaned through its full depth.
How Long Should a Carrier Dry Before Reuse?
Drying time varies with material, humidity, and airflow. Reuse the carrier only when seams, padding, undersides, and zipper areas feel dry and leave no moisture on a clean paper towel.
When Should an Accident-Soiled Carrier Be Replaced?
Replace it when contamination remains in an inaccessible layer, odor persists after proper cleaning, or cracks, torn mesh, swollen boards, damaged seams, or unreliable latches compromise the structure.
Conclusion
A successful cleanup preserves both hygiene and the carrier’s ability to contain the dog securely. Contain the spill before it spreads, separate components by material, and follow the care label instead of soaking the entire carrier by default. Use mild soap for compatible washable surfaces and a spot-tested enzymatic product when urine residue persists, without combining cleaners. Dry seams, inserts, and hidden edges completely, then examine latches, mesh, straps, floorboards, and structural joints before the next trip. If odor returns from foam or a sealed layer, or cleaning reveals damage around a closure, replacement is a more sensible choice than repeated chemical treatment. Prepare a washable liner and compact cleanup kit for future journeys, and discuss recurring vomiting, diarrhea, or urinary accidents with a veterinarian rather than treating them solely as an equipment problem.